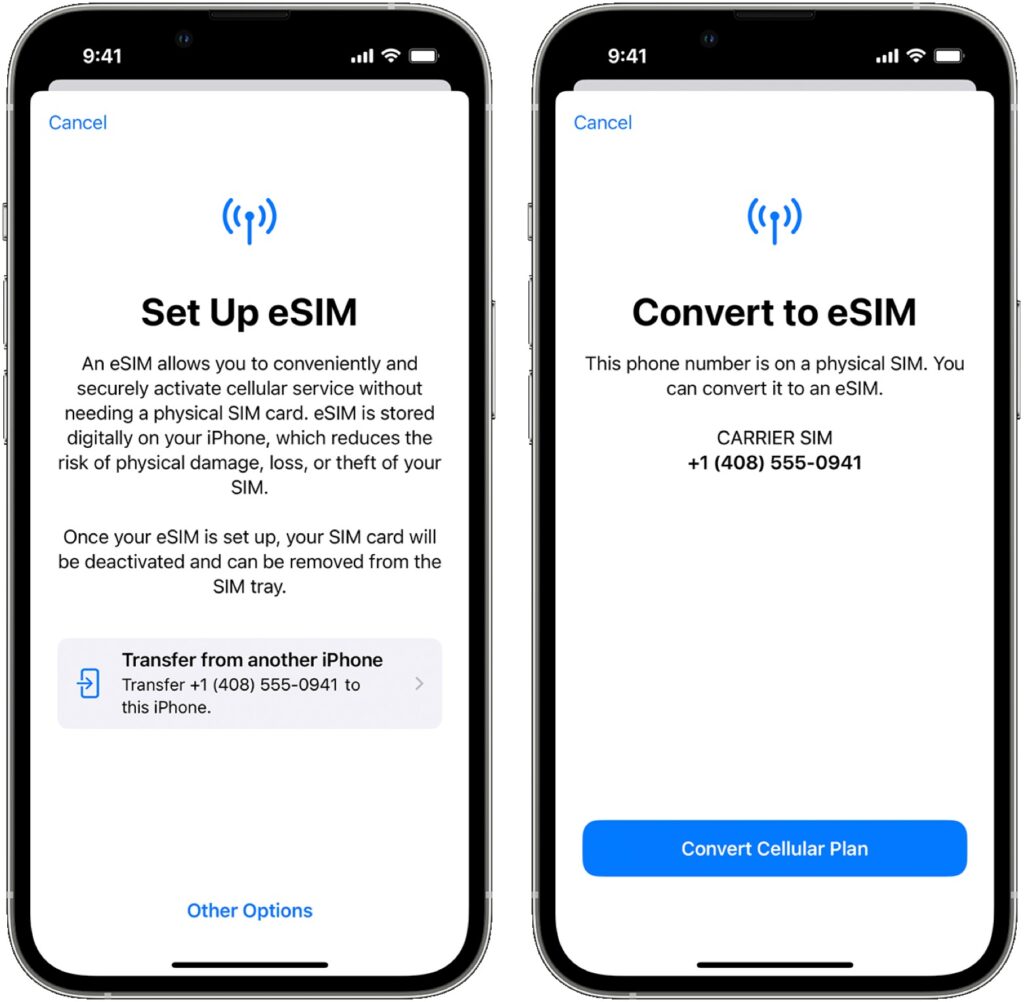
Perhaps the most surprising change in the iPhone 14 line, at least in the United States, was the shift from using removable SIM cards to eSIM.
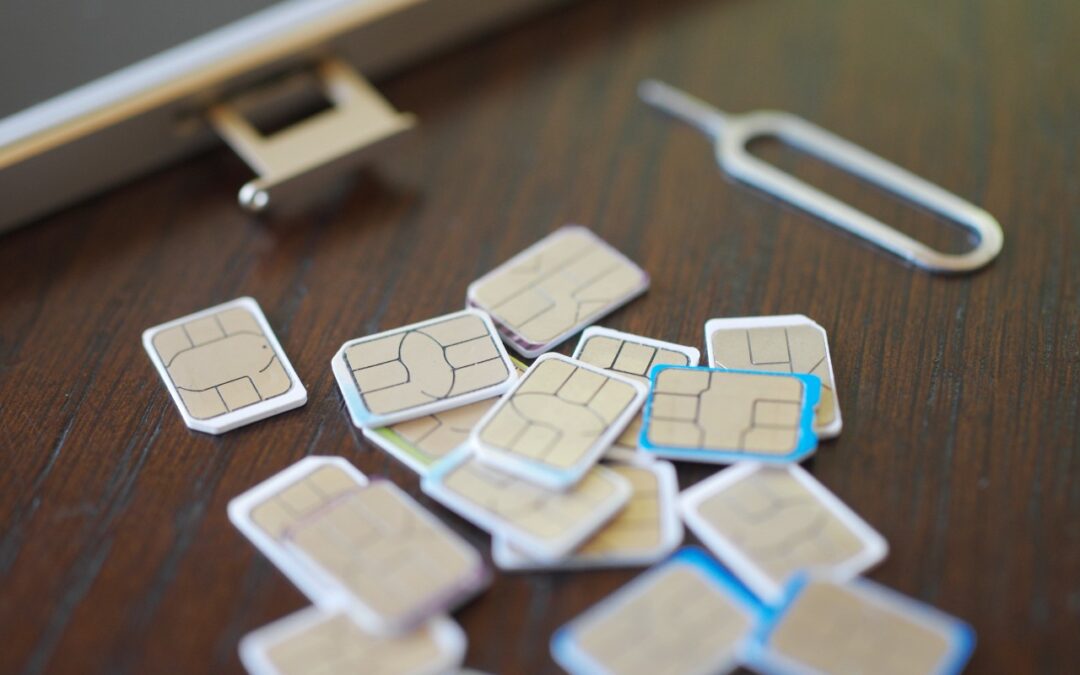
SIM cards—SIM stands for Subscriber Identity Module—have been a fixture in the mobile phone world for many years because they provide the unique identification necessary to connect a subscriber and a plan with a phone. Because SIM cards are removable, you can use them to transfer an existing plan to a new phone, switch carriers, or enable temporary service while traveling—all by inserting the appropriate SIM card.
But SIM cards are small, fussy, and require physical interaction, so the industry came up with eSIM, or embedded SIM, where a programmable SIM is integrated into the circuitry of the phone. With eSIM, you can also activate a plan, transfer a plan to a new phone, or change carriers, typically without interacting with customer service. You also don’t have to acquire a physical SIM, figure out how to open your phone’s SIM tray, or insert the tiny SIM card in the correct orientation without dropping or damaging it. Plus, without a SIM slot and tray, iPhones have one less spot where water could get in and one less moving part that could break, and Apple doesn’t have to provide a SIM tool that you’ll likely lose (and replace with a paperclip).
Apple’s eSIM Transition
eSIM support is widespread among US carriers but less so internationally, which is why models of the iPhone 14 sold outside the US retain the SIM tray. The main place where lack of eSIM support is likely to be an issue—at least for the near future—is international travel. Historically, it was easy to purchase a pre-paid SIM card for a local carrier in the airport upon arriving, but that will no longer work for a US iPhone 14. The iPhone is sufficiently popular that international carriers are adding eSIM support, but it’s still possible to travel to a country where you can’t get local service with an iPhone 14 due to the lack of a SIM tray. Apple maintains a list of international carriers that support eSIM in various ways, including with pre-paid plans for travelers, and offers advice on how to use eSIM when traveling. (eSIM isn’t available at all in mainland China, but Apple’s list includes worldwide service providers that sell pre-paid data plans you can use when traveling in China and other countries without eSIM support.)
Apple has been moving toward eSIM for several years, starting with the iPhone XS, iPhone XS Max, and iPhone XR in 2018. Those iPhones—and every model up to the iPhone 14—had both a SIM tray and eSIM, which enabled the use of two separate cellular plans, each with its own phone number. With the iPhone 13, Apple enabled Dual SIM support with eSIM alone, and some carriers started giving customers the option to activate their primary service with eSIM, leaving the SIM tray or the second eSIM available for a second plan. Apple says you can store and switch among up to eight or more eSIMs, two of which can be active at any time, but it’s unclear how that works—an update to iOS might be necessary.
Cellular-capable iPads have had eSIM support since the seventh-generation iPad, fifth-generation iPad mini, third-generation iPad Air, first-generation 11-inch iPad Pro, and third-generation 12.9-inch iPad Pro.
How to Activate an eSIM
Precisely how you activate an account with eSIM varies by carrier and your situation, but Apple describes three basic options:
- eSIM Carrier Activation: Some carriers can assign a new eSIM to your iPhone, making it easy to switch to a new iPhone or enable an eSIM-based plan after setup. eSIM Carrier Activation involves following a few simple onscreen instructions where you basically acknowledge that activation is happening. Make sure you can place a phone call afterward, and if you’re switching from a SIM card, remove it and restart your iPhone.
- eSIM Quick Transfer: If you’re transferring a SIM or eSIM from an old iPhone to a new one and you have both at hand, you may be able to use eSIM Quick Transfer. It will provide instructions during setup, or you can initiate it after setup with Settings > Cellular > Add Cellular Plan and either selecting a plan from a list or tapping Transfer From Another Device. You can also convert a physical SIM to an eSIM on the same phone if your carrier supports eSIM Quick Transfer; check to see if Settings > Cellular has a Convert to eSIM option. If so, tap it and follow the instructions.

- Scan a QR code or use a carrier app: Carriers that don’t support eSIM Carrier Activation or eSIM Quick Transfer initiate setup by providing either a QR code you can scan—during setup or afterward—or a custom app. Either way, follow the iPhone’s instructions to complete the setup.
Although we’ve become accustomed to swapping SIM cards in and out of our iPhones such that eSIM feels new and confusing, it should be a better overall solution that’s easier to set up, less error-prone, and more secure. There may be some short-term annoyance for US iPhone 14 owners who travel internationally, but we anticipate that will dissipate over time as international carriers start supporting eSIM.
Thank you for reading the MacEdge blog.
(Featured image by iStock.com/fz750)

